
Last updated September 21, 2026
Full 25-point door and opener safety check with every visit - springs, cables, rollers, tracks, and your LiftMaster or Chamberlain opener included
You get a price before we start. It does not change when the truck arrives.
 Before
 After
After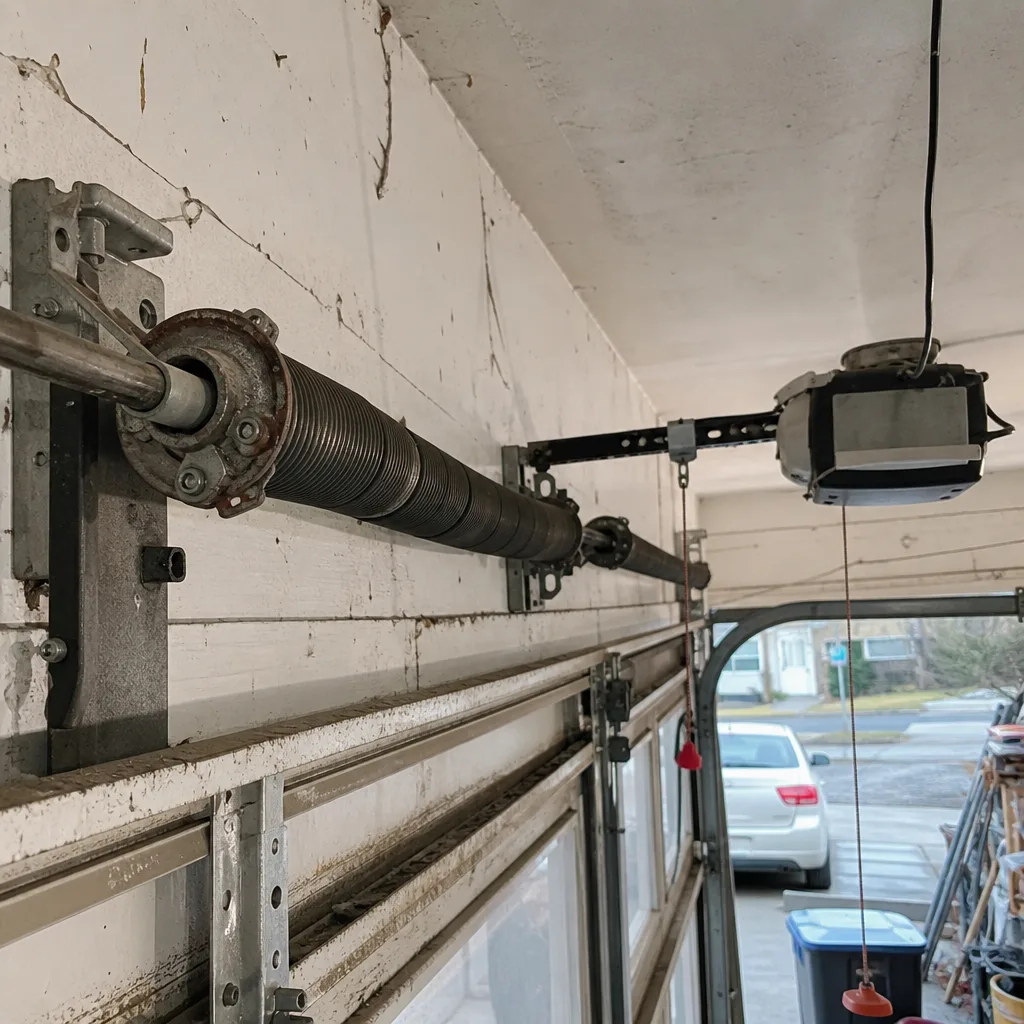 Before
 After
After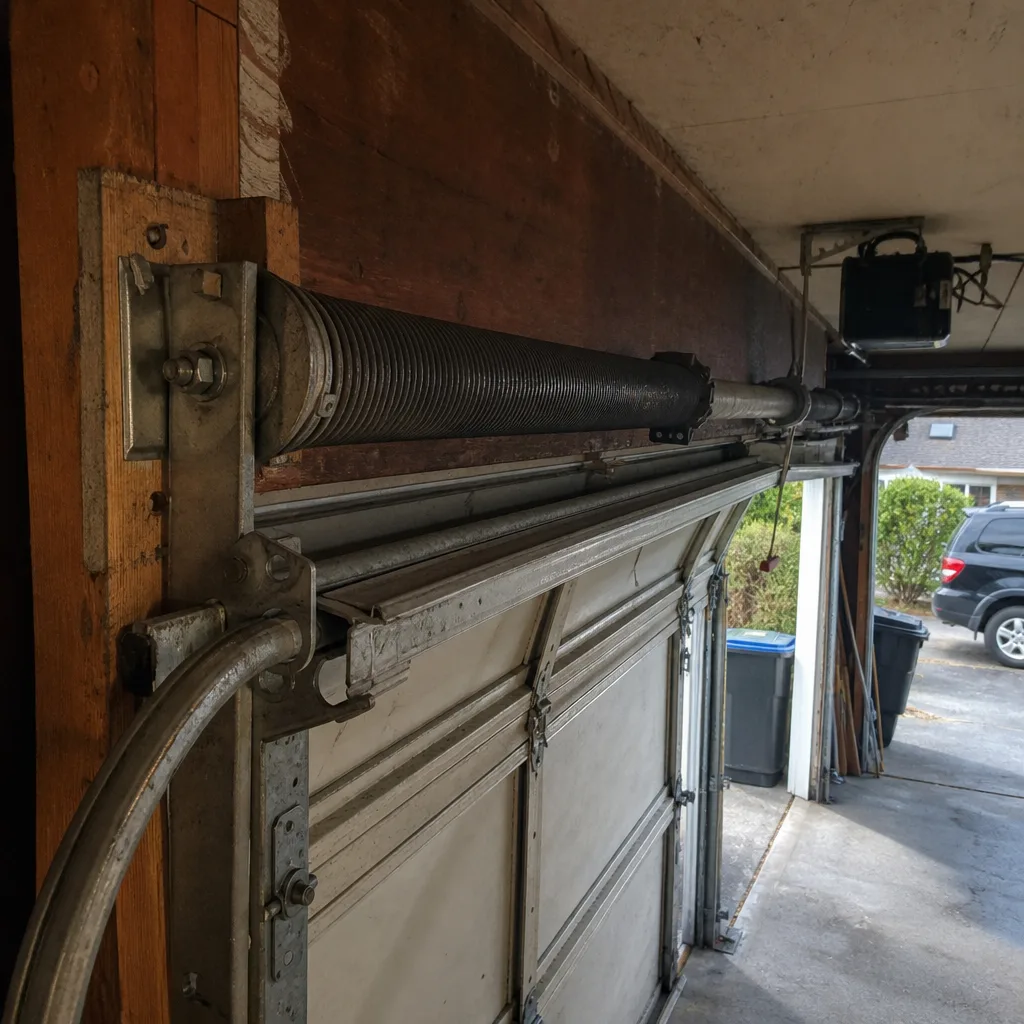 Before
 After
AfterDIY vs Professional Garage Door: The Kent Homeowner’s Decision Guide
The torsion spring above your garage door stores roughly the same kinetic energy as a .22 caliber bullet at full wind. That’s not a scare tactic. It’s a physics statement about a steel coil under 200 pound-inches of torque, and it’s the exact reason this guide draws a hard line through the middle of garage door work. Most Kent homeowners don’t need a technician for everything. But three specific tasks sit on the wrong side of that line, and knowing which ones they are before you touch a wrench saves money, time, and fingers. We’re going to walk through every common garage door task, classify each as DIY-safe or professional-only, and give you concrete dollar figures for what both paths cost in the Kent market.
Quick Answer
Five garage door tasks are genuinely safe for a Kent homeowner to do themselves: weatherstripping, bottom seal replacement, sensor realignment, track lubrication, and opener battery replacement. Three tasks require a licensed professional because the injury risk is severe: torsion spring replacement, cable replacement, and any track work under load. In plain terms, if it involves a spring under tension or a cable wrapped around a drum, call a technician. Everything else is fair game with basic tools and patience.
Table of Contents
- The Line: Where DIY Ends and Professional Work Begins
- The 5 Tasks That Are Safe for DIY
- The 3 Tasks That Require a Licensed Technician
- The Physics of Torsion Spring Tension, Explained Plainly
- DIY vs Professional Cost Comparison in Kent
- What DIY Work Voids: Warranties and Permits
- How to Document Your DIY Work for Future Diagnostics
 Before
 After
AfterThe Line: Where DIY Ends and Professional Work Begins
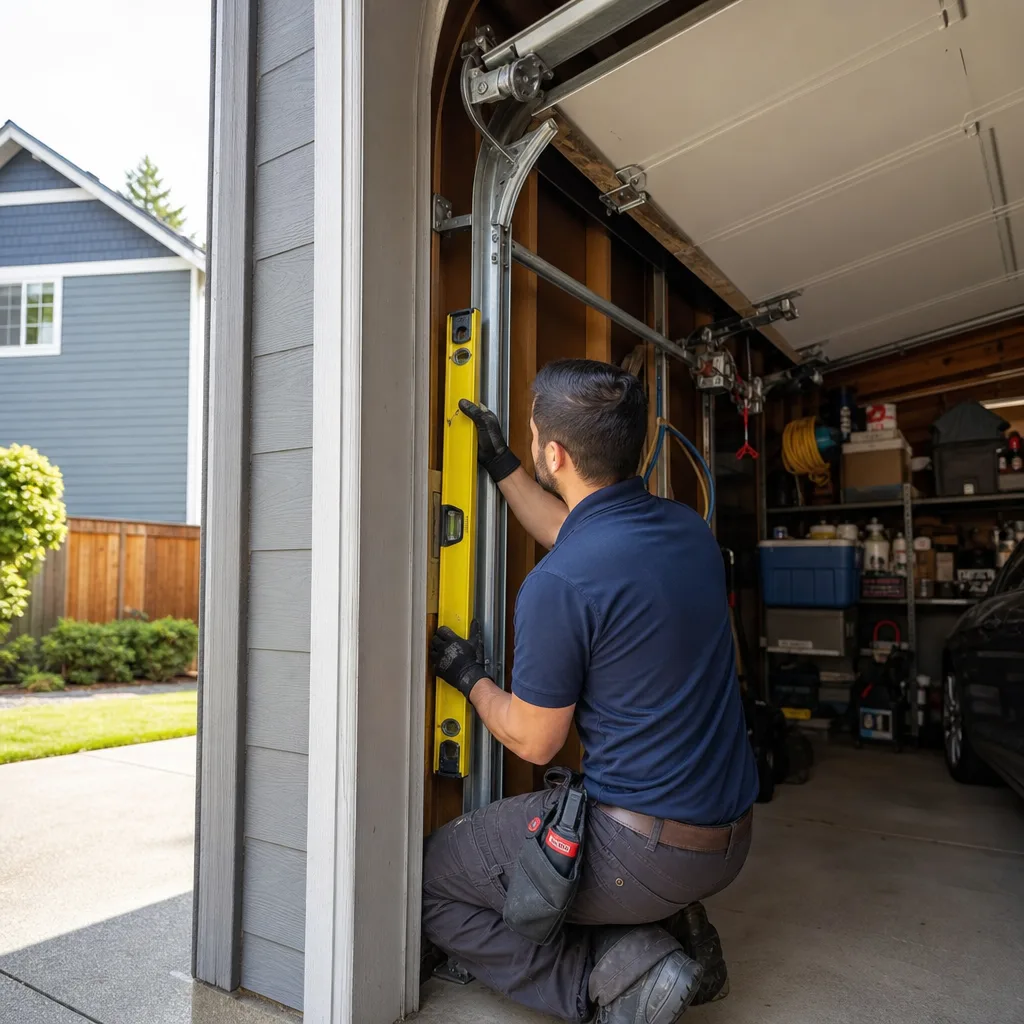
The DIY vs professional conversation usually gets framed as a question of skill: are you handy enough to fix a garage door? That’s the wrong question. Plenty of Kent homeowners are handy. The right question is whether a task carries injury risk if the unexpected happens, and whether the consequences of a mistake are recoverable. Hanging a shelf incorrectly means patching drywall. Releasing a wound torsion spring incorrectly means steel teeth catching at high velocity.
The line is drawn at load-bearing tension. Anything that doesn’t store mechanical energy while you work on it is DIY territory. Anything that does is professional territory. It’s that simple, and it matches what every serious garage door technician in Kent has seen: the DIY injuries don’t come from people who don’t know how to use tools. They come from people who underestimate the spring.
Before you take anything apart, ask one question: is this component holding tension right now? If the answer is yes, stop. If the answer is no, and you have the right replacement part and basic tools, proceed with the same care you’d use on any household repair.
The 5 Tasks That Are Safe for DIY
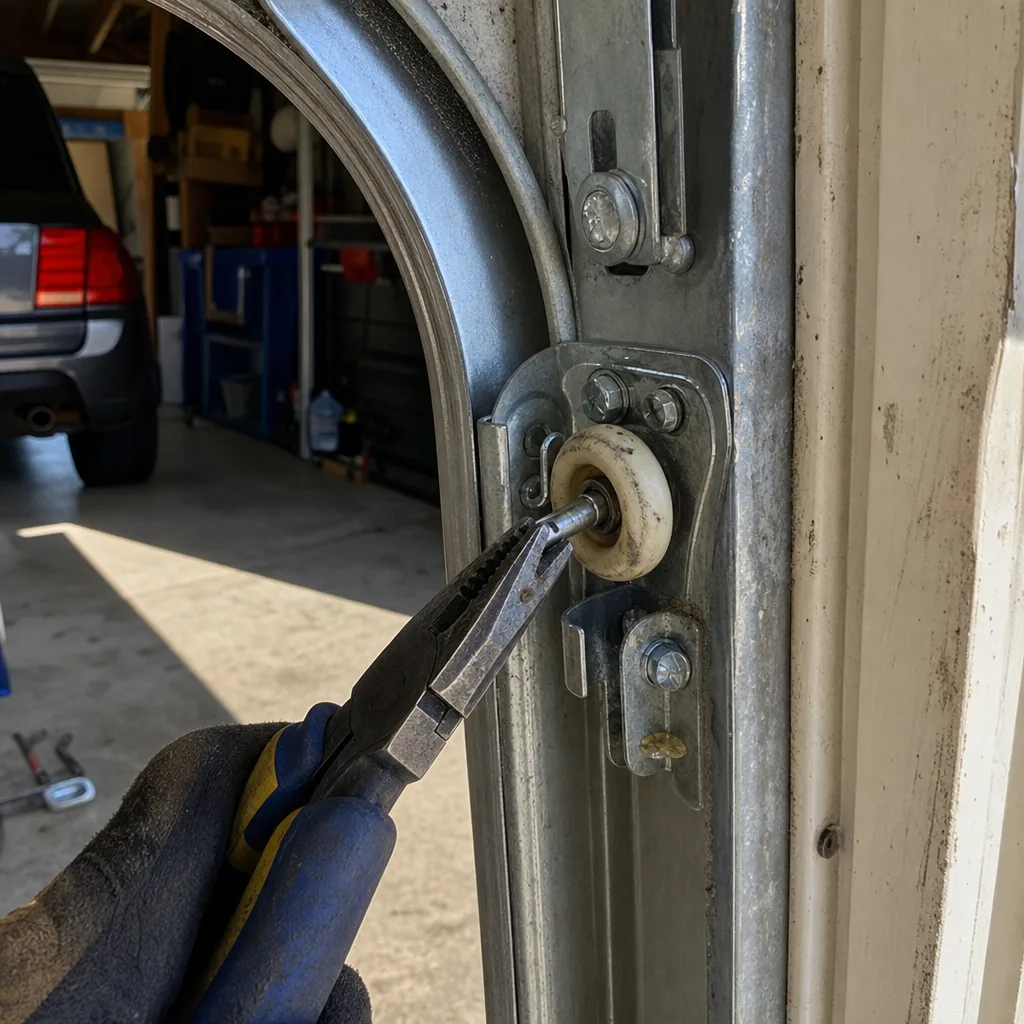
These five tasks account for a meaningful chunk of the service calls we take in Kent, and none of them require special tools or training. They require patience, a flashlight, and in one case a stepladder. Here’s the full breakdown.
1. Weatherstripping and Seals
The vinyl trim that runs along the sides and top of your garage door opening rots and cracks over time, especially in Kent’s wet season. When it fails, you’ll feel drafts and see water staining on the interior wall. Replacement is a strip-and-stick job: pull the old material off, clean the jamb, and press or nail the new seal into place. Most Kent hardware stores sell this by the foot. A full perimeter weatherstrip costs $25-$50 in materials and takes about an hour. No tension involved, no mechanical parts, no consequences for getting it wrong beyond doing it again.
2. Bottom Seal Replacement
That rubber strip along the bottom edge of the door is the thing that keeps leaves, water, and rodents out of your garage. It slides into a T-channel or U-channel track on the bottom panel. When it tears or flattens, you buy a replacement by the foot, measure the door width, slide the old one out and the new one in. The bottom seal on a typical 9-foot Kent garage door costs $20-$35 in material and takes 20 minutes. You don’t need to detach the door, you don’t need to touch a cable. The door stays put while you work. This is the single safest garage door task there is.
3. Sensor Alignment
Your garage door opener has two photo eye sensors mounted about 6 inches off the floor on either side of the opening. When one gets bumped out of alignment, the opener refuses to close the door because it thinks something is in the way. Fixing this takes about 10 minutes: loosen the mounting wingnut, adjust the sensor until its indicator light stays solid, and retighten. The sensors are low voltage. There’s no risk of shock, no spring involved, and a misaligned sensor is a convenience problem, not a safety one. Kent homeowners see this after a mower bumps the sensor bracket or kids knock one loose with a bike.
4. Lubrication
A garage door needs lubrication once or twice a year. White lithium grease on the hinges and rollers, and a spray lube on the torsion spring itself. That’s the extent of it. Buy a can of garage door lube from a hardware store for $8-$12, not WD-40, and hit every pivot point. You never touch the tension. You’re just applying lubricant to components that are already installed. If you can reach the hinges with the door down, do it with the door down. If you need the door up to reach the track, that’s fine too, the door holds its own weight when open.
5. Opener Battery Replacement
The backup battery inside the opener motor unit keeps the door functional during power outages, which happen more often in Kent than people expect during fall windstorms. When the battery dies, the opener beeps or shows a fault light. Buy the manufacturer’s specified replacement, not a generic pack of the same voltage. A LiftMaster or Chamberlain battery runs $30-$45. It sits in a covered compartment at the top of the motor housing. Unplug the opener, pop the cover, swap battery, close it up. There is zero tension risk and zero electrical risk when the unit is unplugged.
The 3 Tasks That Require a Licensed Technician
These three jobs share one quality: they involve stored mechanical energy. You cannot see the energy, but it’s absolutely there, waiting. When a spring under tension fails during a DIY attempt, it releases that energy in a single instantaneous unwinding. Here’s what each one involves and why it sits on the professional side of the line.
1. Torsion Spring Replacement
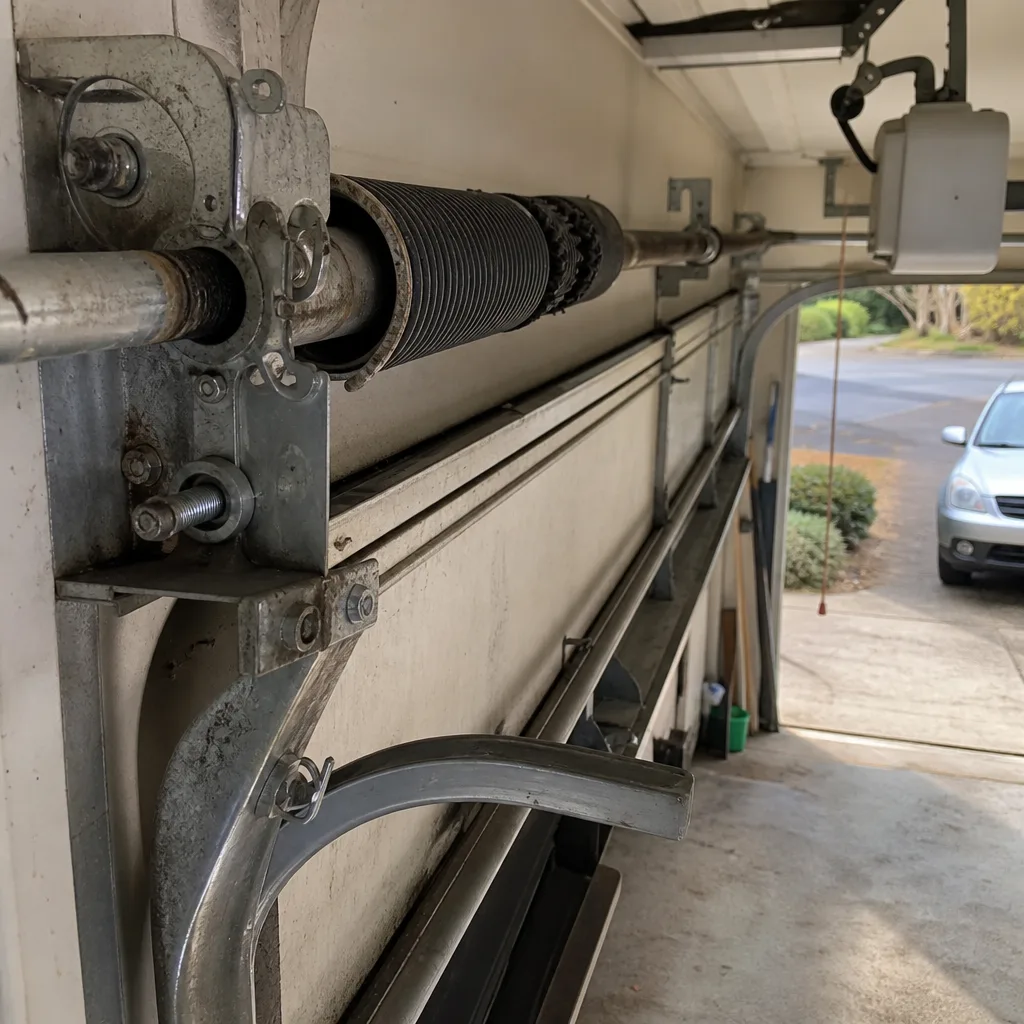
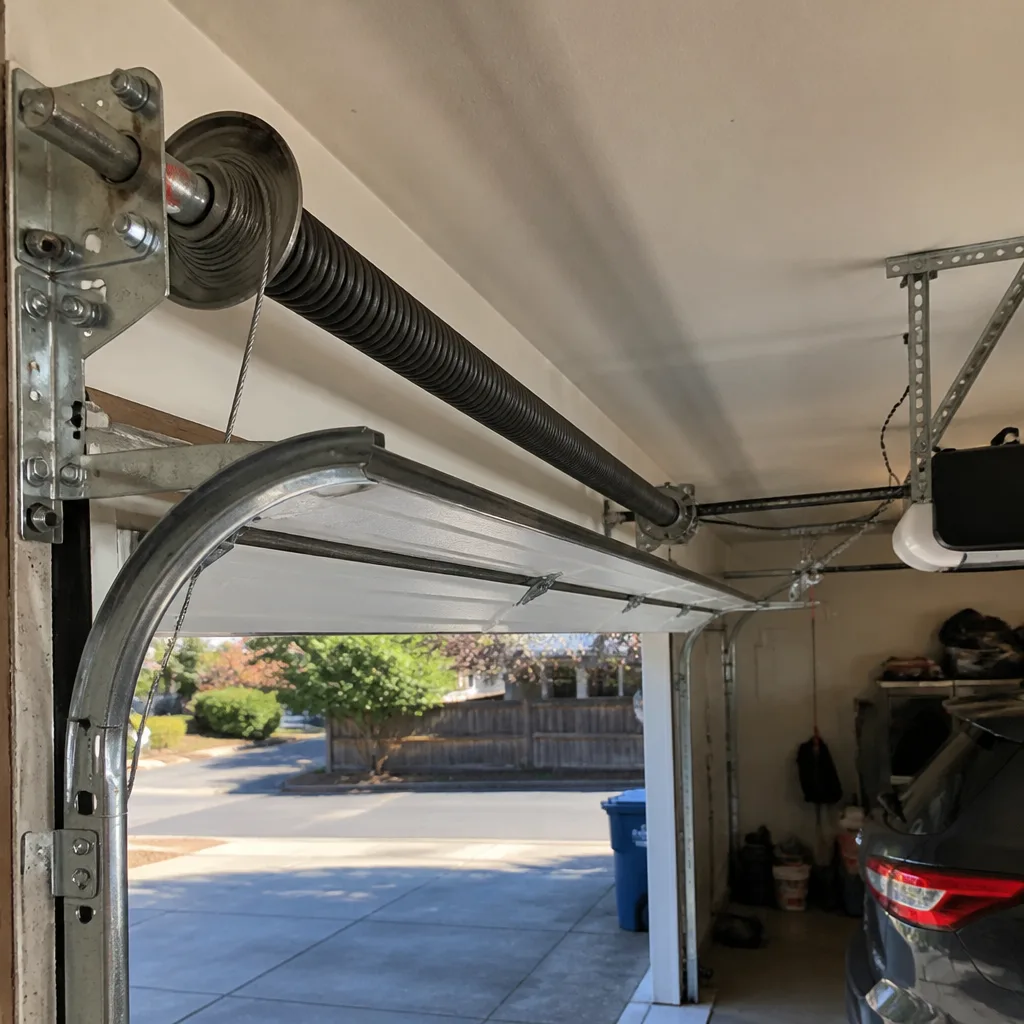
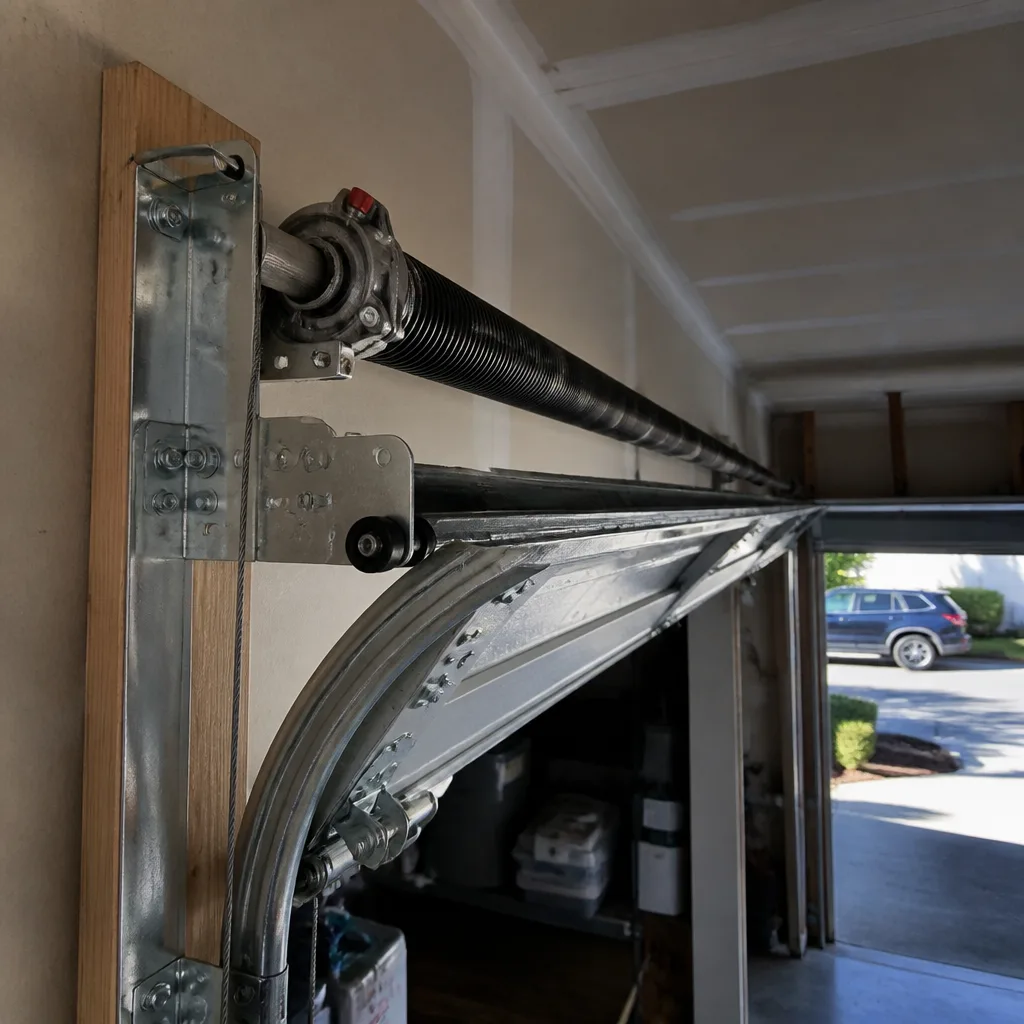
The torsion spring is the long coiled spring mounted on a steel shaft above the door opening, directly above your head when the door is closed. It counterbalances the door’s weight. Without it, a 150-pound sectional door is dead weight. When it breaks, which typically happens after 10,000 to 20,000 cycles, the door won’t open, even with the opener pulling.
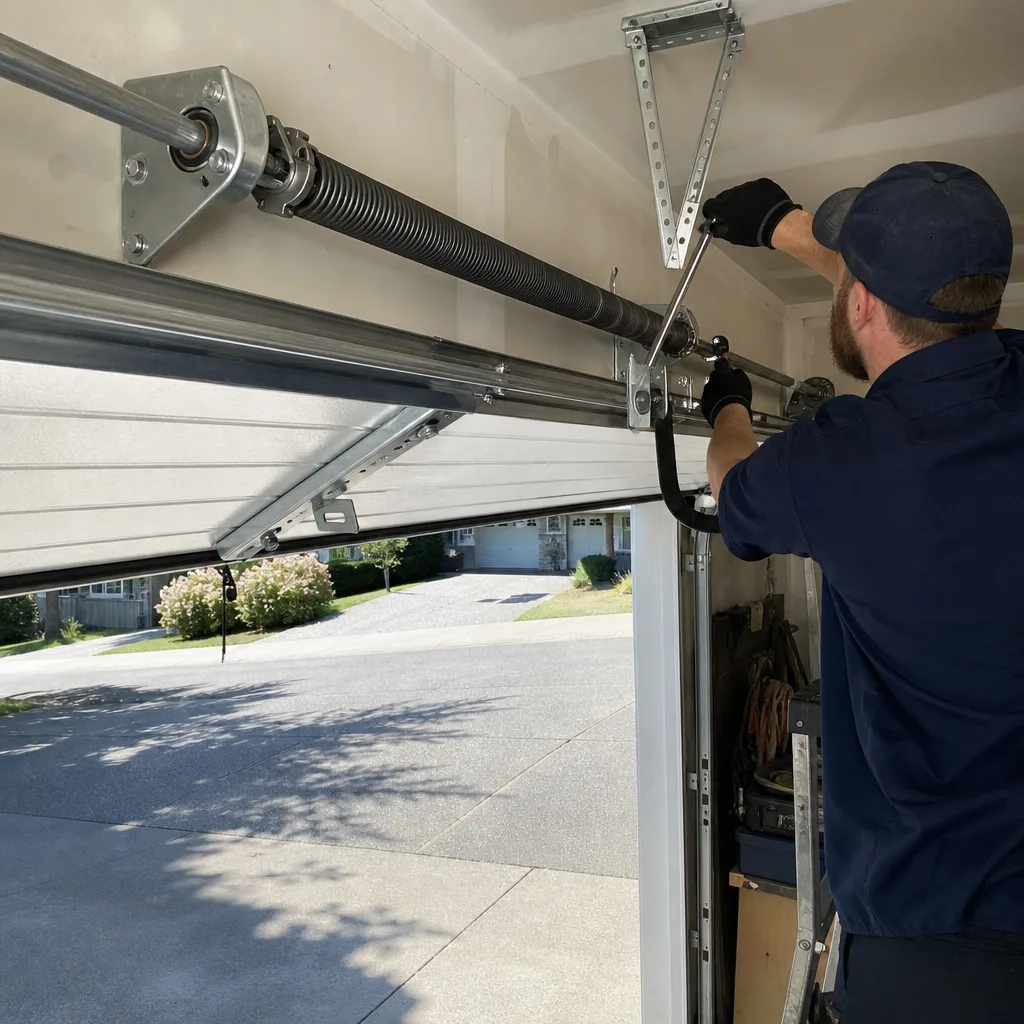
Replacing one involves a set of steel winding bars and a deliberate, specific sequence of winding and unwinding turns. Each step stores or releases tension in measured quarter-turn increments. A slip at any point sends the bar flying with enough force to fracture bone. This is not something you ease into. Every technician who works for us has watched another tech take a bar to the face because of one bad quarter-turn on a spring they’d wound a hundred times. The injury mechanism isn’t inexperience. It’s that torsion springs don’t give warnings.
2. Cable Replacement
The cables are the braided steel strands running from the bottom corners of the door up to the drums at the top of the track. They carry the door’s entire weight through the pulley system. When a cable frays and snaps, the door doesn’t just stop working, it drops unevenly, usually hard, on one side. Replacing a cable requires de-tensioning the entire system in a precise sequence that involves the spring. You can’t remove the cable without releasing the tension. You can’t release the tension without working through the spring. This is not a cable problem, it’s a spring problem that happens to involve a cable. A frayed cable is a sign to call someone who does this daily.
3. Track Realignment Under Load
The vertical and horizontal tracks guide the door’s rollers. When a track gets knocked, which happens when someone backs into the door or a kid throws a bike into the track, the door starts grinding or hangs up. The problem is that the door sits inside the track, resting on the rollers, held by the same system of springs and cables. You can’t safely remove the door from the track or lift it free without unloading that tension first. Any track adjustment done while the door is under load means fighting gravity with one hand and a wrench with the other, and if the load shifts, the door comes down. This is a professional job not because it’s complicated but because it’s unstable, and instability around loaded steel is exactly the kind of thing that breaks hands and sprains shoulders.
The Physics of Torsion Spring Tension, Explained Plainly
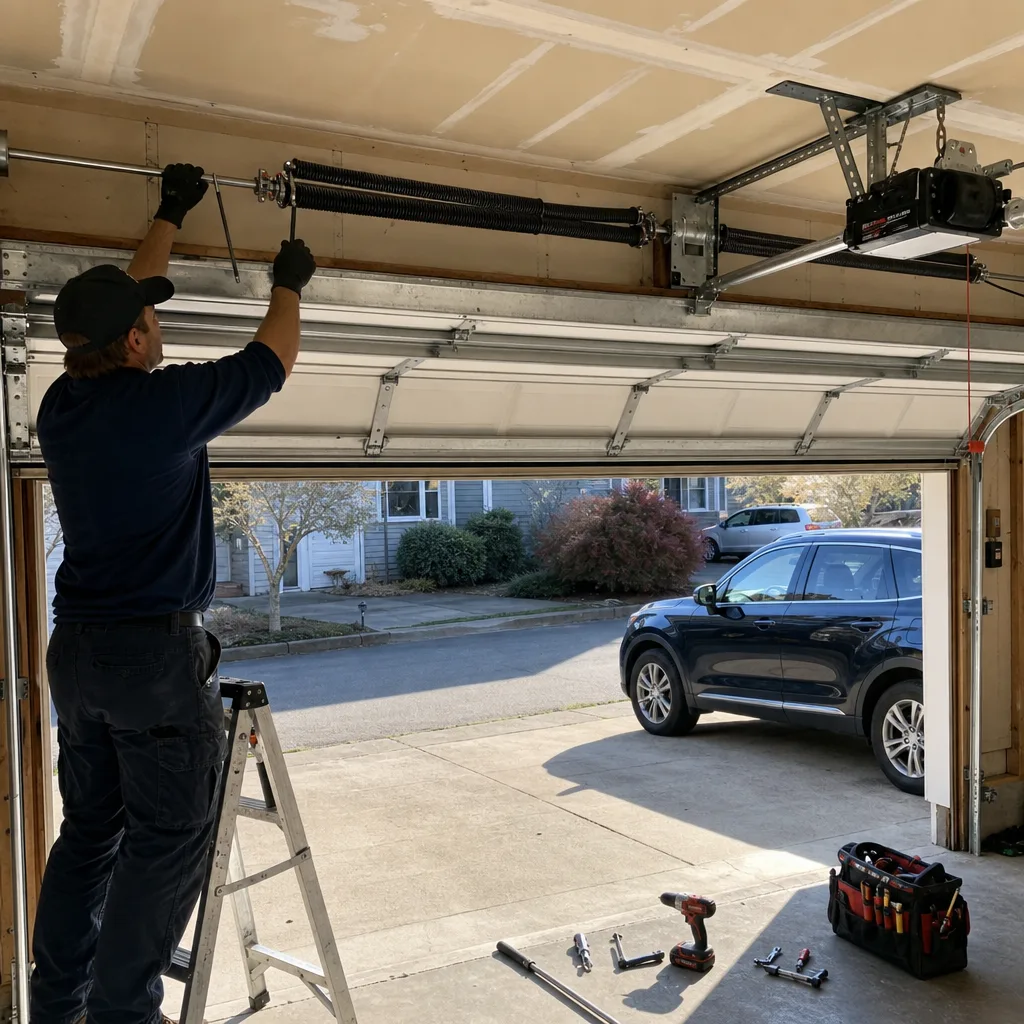
A torsion spring is a length of hardened steel wire wound tightly into a coil. When the door is closed, the spring is fully wound, storing maximum energy. When the door opens, the spring unwinds and releases that energy, which is what makes a 150-pound door feel like it weighs 15 pounds to you and your opener.
The math works like this. A standard residential torsion spring is wound 7 to 8 turns. Each turn stores roughly 25 to 30 pound-inches of torque for a typical 0.243-inch wire diameter spring. At full wind, that spring is holding something like 180 to 220 pound-inches of rotational force. That force is trying to unwind the spring constantly, every second, whether the door is open or closed. The only thing stopping it is the set screw on the winding cone.
When you loosen that set screw without the bars in the right position, the stored force releases all at once. The spring unwinds in a fraction of a second, and the attached cone becomes a projectile. That’s the injury mechanism. Not the door falling. The spring itself becoming a fast-moving steel object.
This is why we tell Kent homeowners what we tell our own families. You don’t need to understand the math to respect it. If the spring is involved, a professional is involved. Same applies to garage door springs in any form, including the extension springs on older doors, which store their energy differently but release it just as unpredictably when they snap.
DIY vs Professional Cost Comparison in Kent
The best way to see whether DIY actually saves you money is to look at specific numbers. Here’s what these jobs cost in the Kent market as of 2025, both the parts-only DIY route and the flat-price professional route, with detailed figures in our Garage Door Cost Breakdown: The Kent Homeowner’s Reference for 2026. These are real ranges based on work we’ve quoted and parts we’ve seen at local suppliers.
| Task | DIY Parts Cost | Professional Service Cost | Time DIY Takes |
|---|---|---|---|
| Weatherstripping (full perimeter) | $25-$50 | $120-$200 | 1 hour |
| Bottom seal replacement | $20-$35 | $90-$150 | 20 minutes |
| Sensor alignment | $0 | $80-$120 service call | 10 minutes |
| Lubrication | $8-$12 | $75-$125 | 15 minutes |
| Opener battery replacement | $30-$45 | $90-$140 | 15 minutes |
| Torsion spring replacement | $60-$120 for the spring | $280-$420 installed | Professional only |
| Cable replacement | $25-$50 for the cable | $180-$300 installed | Professional only |
The numbers tell the story clearly. On the five DIY tasks, you save between $50 and $120 per job by doing it yourself, and the parts are available at hardware stores across Kent. The labor is the entire cost. If you’re comfortable with simple mechanical work, those five tasks are worth doing yourself.
The spring and cable numbers are where the math changes. A torsion spring costs $60 to $120 as a bare part. But you cannot safely install it without the winding bars ($15), the knowledge of how many turns your specific door needs, and the experience to know when the tension is correct. Get the winding count wrong and the door won’t balance, the opener burns out early, or the spring breaks again in 18 months. The professional rate includes the spring, the labor, and the calibration. That $280 to $420 is the cost of not having a steel cone into your cheekbone. It also happens to be the price of a proper garage door repair in Kent, quoted upfront and in writing before anyone touches your door. That’s Clause 1 of The Haven Standard, the documented system Servo Garage Doors Kent has worked under since 2015.
What DIY Work Voids: Warranties and Permits
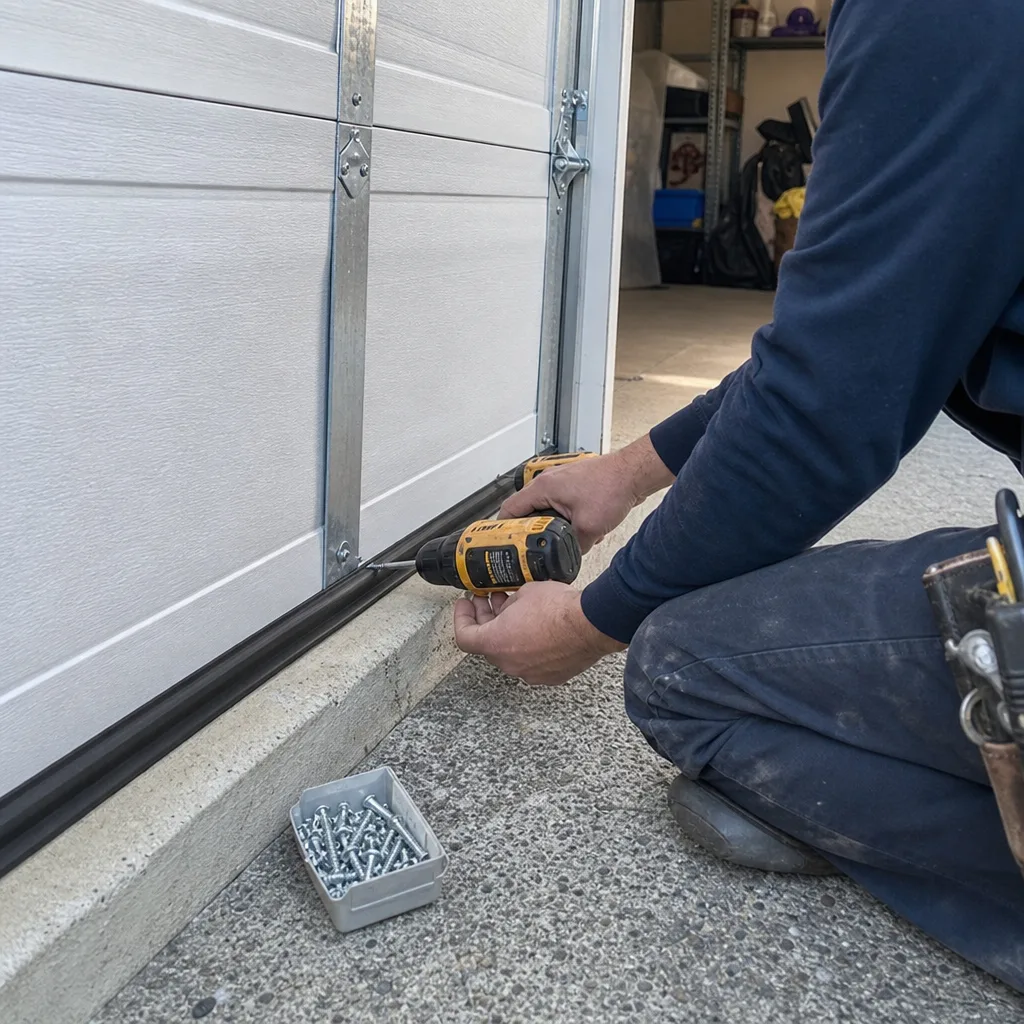
This is the part most DIY guides skip, and it’s the part that actually matters when something goes wrong. Your DIY work has consequences beyond the immediate repair. Two specific things deserve your attention.
Opener Manufacturer Warranties
LiftMaster and Chamberlain, the two most common opener brands in Kent homes, both state in their warranty documents that the warranty applies to defects in materials and workmanship, not to damage caused by improper installation. What that means in practice: if you self-install an opener, or if you replace the logic board or the limit switch yourself and get it wrong, and then something fails, the manufacturer may deny the claim because the unit wasn’t installed by a qualified technician. This isn’t universal, and it’s not automatically enforceable, but it’s exactly the kind of gray area that turns a $400 opener replacement into a $400 out-of-pocket expense instead of a warranty claim.
Craftsman openers, the older ones predating the brand’s shift away from garage door openers, carry similar language. The pattern across the industry is consistent. The warranty protects the manufacturer’s workmanship, not yours.
Electrical Permits in Kent
Kent follows Washington state electrical code. A new garage door opener requires a dedicated GFCI-protected outlet within 3 feet of the motor unit. If your garage doesn’t have one, and many older Kent homes don’t, installing that outlet requires an electrical permit and, in most cases, a licensed electrician. This is the point where DIY opener installation stops being a weekend project. You can replace an opener that plugs into an existing approved outlet, but you cannot add the outlet yourself. The City of Kent permit office enforces this, and selling a home with unpermitted electrical work creates disclosure problems down the line.
Note that garage door opener repair and installation in Kent done by a licensed technician sidesteps this entirely, since the work is permitted and documented. If you go the DIY route, keep any receipts and photograph the existing outlet location before you start. That documentation matters if the permit question comes up later.
How to Document Your DIY Work for Future Diagnostics
When we show up at a Kent home for a repair, we’re reconstructing the door’s history from scratch unless the homeowner can tell us what’s already been done, which is why we recommend keeping a Garage Door Repair Maintenance Checklist for Kent Homeowners. Most can’t. They say things like “I think I replaced a seal a few years ago” or “my brother-in-law looked at it.” That vague history slows down diagnosis and costs the homeowner time.
You can fix this with a simple documentation habit. Here’s the five-photo, three-note system we recommend to every Kent homeowner doing their own garage door work. It takes five minutes and saves a technician thirty.
- Before photo: Photograph the component you’re about to work on with good light. A close-up that shows the brand name, the model stamp, and the condition.
- Part photo: Photograph the replacement part you bought, with the packaging showing the part number. This tells a future technician exactly what went into the door.
- After photo: Photograph the finished job from the same angle as the before photo. This is the comparison shot.
- Store the photos in a folder on your phone labeled with the date and the component name. “Bottom seal March 2025” is perfect.
- Write three notes: what you did, what part you used, and whether anything was unusual. “Old seal was torn at the left corner, replacement was a Clopay 9-foot T-channel from McLendon Hardware.” That’s a complete note.
This habit matters more than it seems. When your door starts acting up in two years, and you’re on the phone with us describing the problem, the difference between “I have documentation” and “I don’t remember” changes the diagnostic process entirely. It’s also a good habit for anyone who’s had garage door installation in Kent done professionally, since the same folder can hold the written quote, the scope, and the photo record your tech should have given you at the end of the job.
On the Servo side, this documentation instinct is built into the way we work. Clause 4 of The Haven Standard requires our technicians to photograph the failed component before quoting a replacement. You see the broken part. You see the photo. Then you decide. The founding rule back in 2015 was simple: show the customer what’s broken before you ask them to pay for the fix. That rule hasn’t changed.
Common Mistakes to Avoid
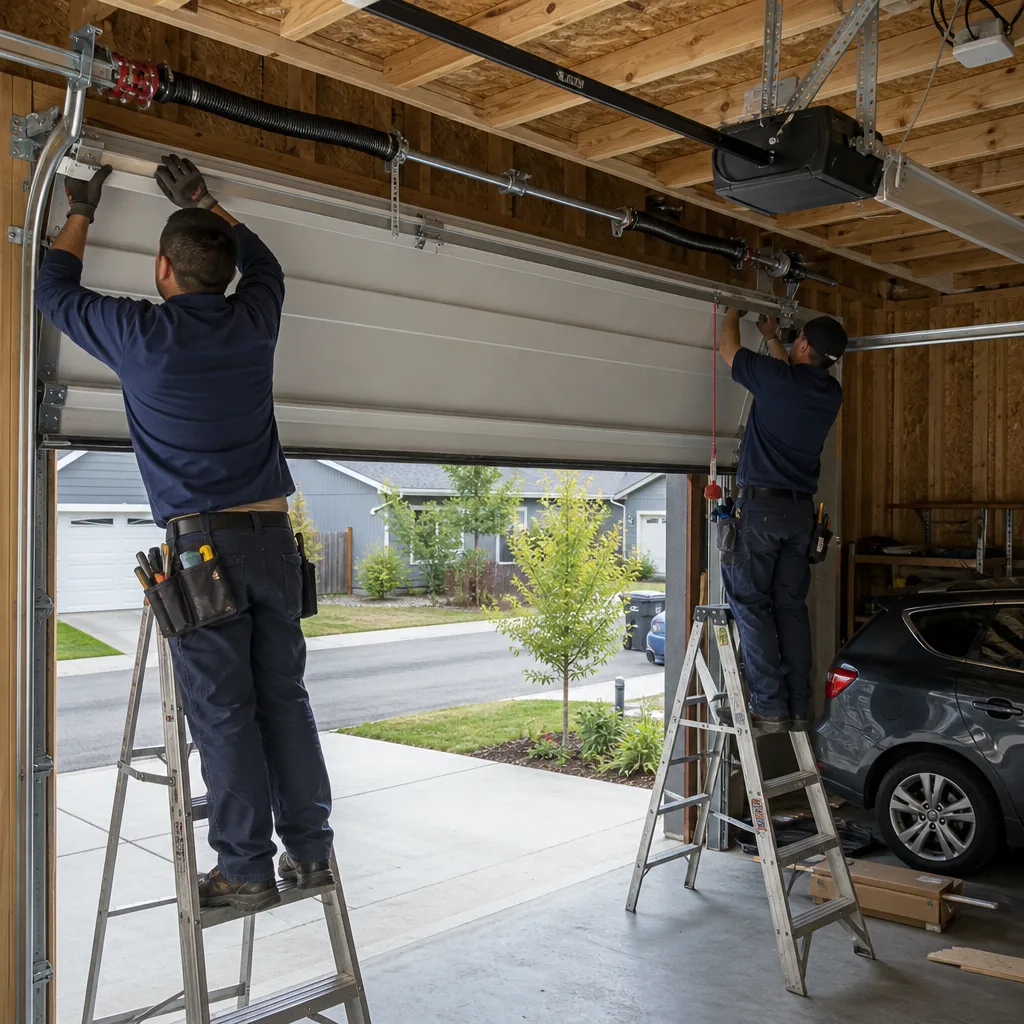
- Using lockdown bars from an automotive kit on a torsion spring. Winding bars are solid steel rods of a specific diameter, not the hollow handled bars from an auto tool kit. Using the wrong bars is the fastest way to get hurt on a garage door in Kent.
- Spraying WD-40 on hinges and rollers. WD-40 is a solvent, not a lubricant. It cleans off the existing grease and leaves the metal dry, which makes the door louder and wears the rollers faster. Use lithium grease or a garage-door-specific spray.
- Replacing only one spring when both are the same age. When one spring breaks, the other is usually near the end of its cycle life. Replacing one and leaving the other is a false economy. It’s like replacing one headlight bulb and being surprised when the other one goes out on the drive home.
- Ignoring a frayed cable because the door still opens. A frayed cable is a ticking clock. The remaining strands are carrying the full load, and when the last one goes, the door drops fast and hard. This is a same-week call, not a next-month call.
- Adjusting the limit switch to fix a door that’s binding. If the door struggles to travel through the track, the problem is likely a track issue, a roller issue, or a balance issue. Changing the opener’s limit switch to force it through the bind masks the problem while creating a new one.
- Performing a DIY repair on a door under warranty. If your door was professionally installed, check your warranty before doing any mechanical work. Some installers void coverage on parts you’ve touched. Read the fine print before you loosen anything.
- Doing any spring or cable work while home alone. If you ignore every word of this guide and attempt spring work anyway, do not do it alone. But here’s the better version of that sentence: don’t attempt spring work. A torsion spring replacement in Kent runs $280 to $420, and that number is a line item on a written quote you approve before work starts. It’s a fraction of the cost of a surgery.
When to Call a Professional
Call a technician if the problem involves the spring, the cable, the drum, or any component that’s holding the door’s weight while you look at it. A door that’s visibly sagging on one side, a cable that’s fraying, a spring that’s snapped, or a track that’s been knocked out of alignment are all professional calls. The exception is a sensor alignment, which is a DIY job. The rule is simple. If the component is load-bearing, pick up the phone.
The good news is that a professional diagnosis in Kent doesn’t have to be expensive or vague. Servo Garage Doors Kent offers free estimates in Kent, and every quote is a flat, written price with a written scope, handed to you before anyone touches the door. That’s Clause 1. You approve the price. Then we do the work. Then you get the photo record showing what was found and what was done. It’s the same approach we’ve used since 2015, and it means the call itself costs you nothing, even if you decide not to proceed. Call (425) 906-3489.
Frequently Asked Questions
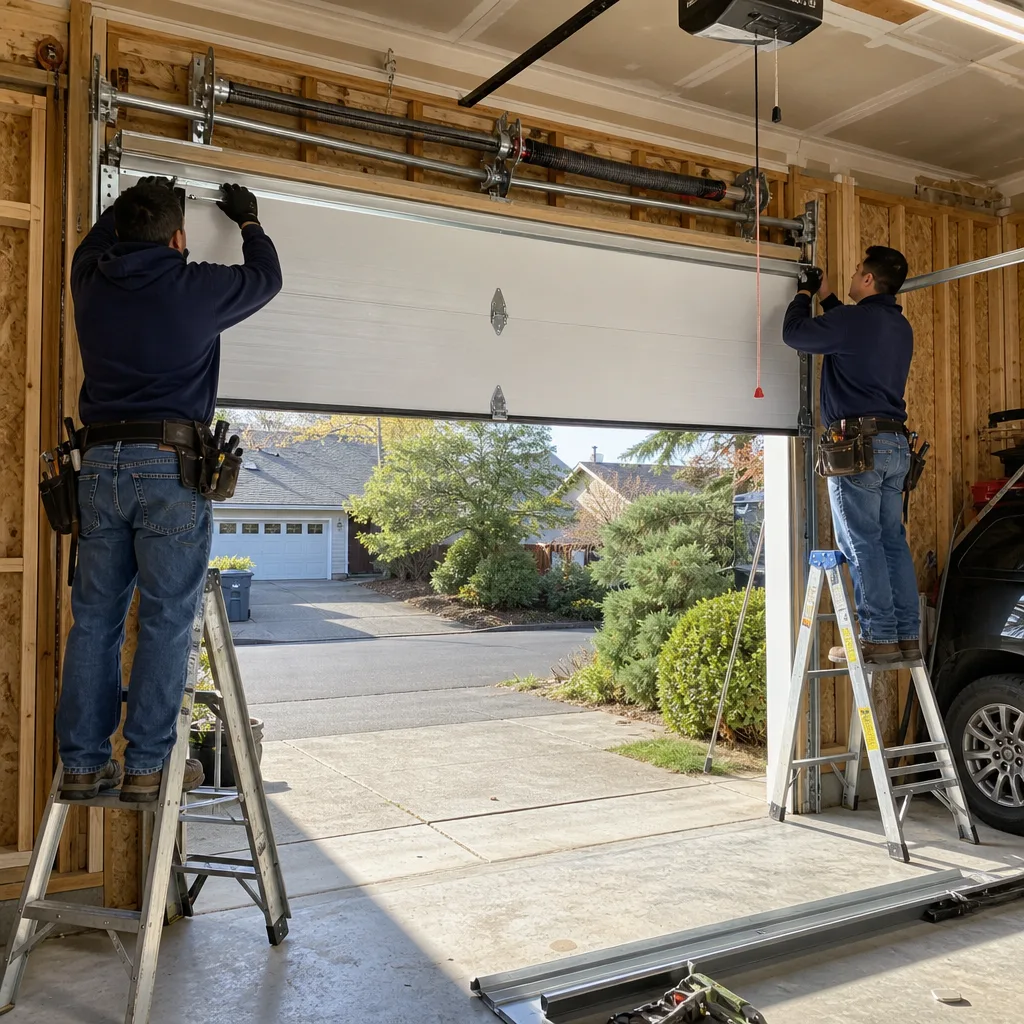
You can, but you shouldn’t. The spring is under enough tension to break bone if it slips during winding or unwinding, and the winding bars you’d need are not the same as automotive pry bars. The physical risk is real and immediate, and even experienced technicians get hurt when a set screw fails. In Kent, a professional torsion spring replacement runs $280 to $420, quoted in writing before work starts, and the tradesman’s skill is the entire reason that number is worth paying.
Yes, and it’s one of the easiest ones. The seal slides into a channel on the bottom panel, and you replace it by sliding the old one out and the new one in. A 9-foot Kent door needs about $20 to $35 in material, and the job takes 20 minutes. You don’t touch the cables, the springs, or the tension system at all.
A professional tune-up in Kent typically runs $75 to $150, which includes lubrication, bolt tightening, balance testing, and a visual inspection. The DIY version costs about $10 in lubrication and 20 minutes. We recommend doing the lubrication yourself and calling a technician if anything looks worn or if you hear grinding.
It depends on what fails. LiftMaster’s warranty covers manufacturing defects, and if your self-installation causes the damage, the claim can be denied. The safest path is to have a licensed technician install the opener, which also covers the Kent electrical code requirement for a proper outlet at the motor. If you do self-install, photograph the outlet and keep the receipt.
Ask whether the part you’re about to touch is holding the door’s weight. If it’s a spring, cable, drum, or loaded track, it’s a professional job. If it’s a seal, sensor, battery, or lubricating surface, it’s DIY. The line is load versus no load, and that single question answers 95% of garage door DIY consultations.
Yes. If another company has given you a written estimate for garage door work in Kent, bring the paperwork to Servo Garage Doors Kent and we’ll look it over free of charge. No coupon, no code, just a documented second opinion from a technician who has seen the same paperwork and can tell you what’s necessary and what isn’t.
The Bottom Line
You can do more garage door work yourself than most more guides & resources admit. Five common tasks, from weatherstripping to sensor alignment to opener batteries, are safe for anyone with a hardware store receipt and an hour on a Saturday. But the line is hard and physical. The torsion spring, the cables, and any track work under load are not DIY projects. They are injuries waiting for one slip, and the professional cost in Kent, quoted in writing before work begins, is a small price for keeping your hands intact. Document the DIY work you do. Call the professionals for the tension work. And when you call, ask for the photo before the quote. The best garage door companies in Kent will already be doing it.
Written by Marcus Deller, Owner at Servo Garage Doors Kent, serving Kent since 2015.